
How to Set up OneDrive Sync on Macbook
-
Important: If you are currently using the OneDrive Mac Store app, you must first uninstall it before installing the latest build of the sync app.
-
If you're not signed in to OneDrive with any account, start OneDrive to connect to your ISS Account.
-
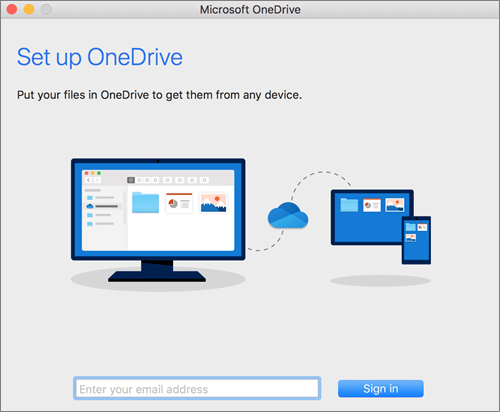
Start OneDrive by opening Finder, or Launchpad to launch OneDrive. This starts OneDrive Setup.
-
Enter your ISS Email & Password and then select Sign in to set up your account.
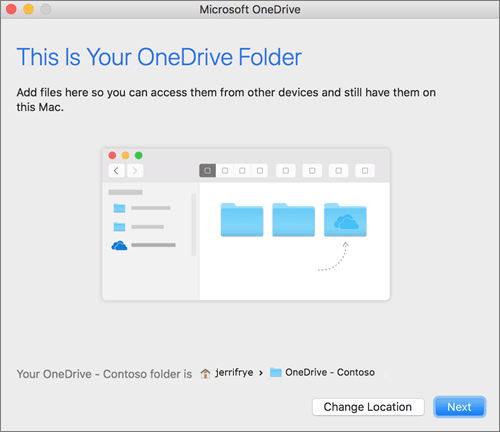
- When setting up your OneDrive, it has a default location set.
- When you see the This is your OneDrive folder screen, you’ll now see a path to the folder you selected. Click Next to continue.
-
On the Sync Files from Your OneDrive screen, you can choose the folders you want to sync to your computer, and click Next. This conserves space on your computer, and reduces bandwidth needed for the sync processes.

-
-
-
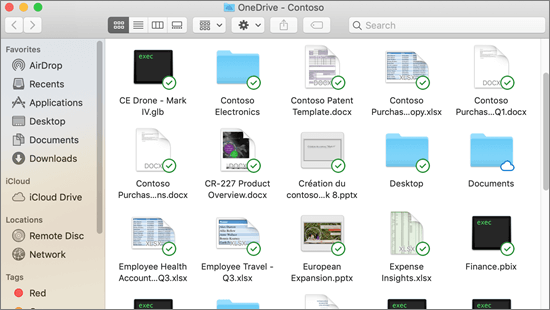
You’re done! Click Open my OneDrive folder to see your files sync to your folder.
You can find OneDrive up in your Menu bar. You’ll have a cloud icon for every account you’ve connected to OneDrive.

-
You’ll also see a folder in Finder called OneDrive – YourName
-
-