How to Print with Toshiba Papercut on Mac
The Toshiba Drivers MUST BE INSTALLED FROM MOSYLE MANAGER FIRST OR ELSE THESE STEPS WILL NOT WORK!!
| 1. Go To Mosyle, and go to Self Service and install the Application Papercut. |
|
|
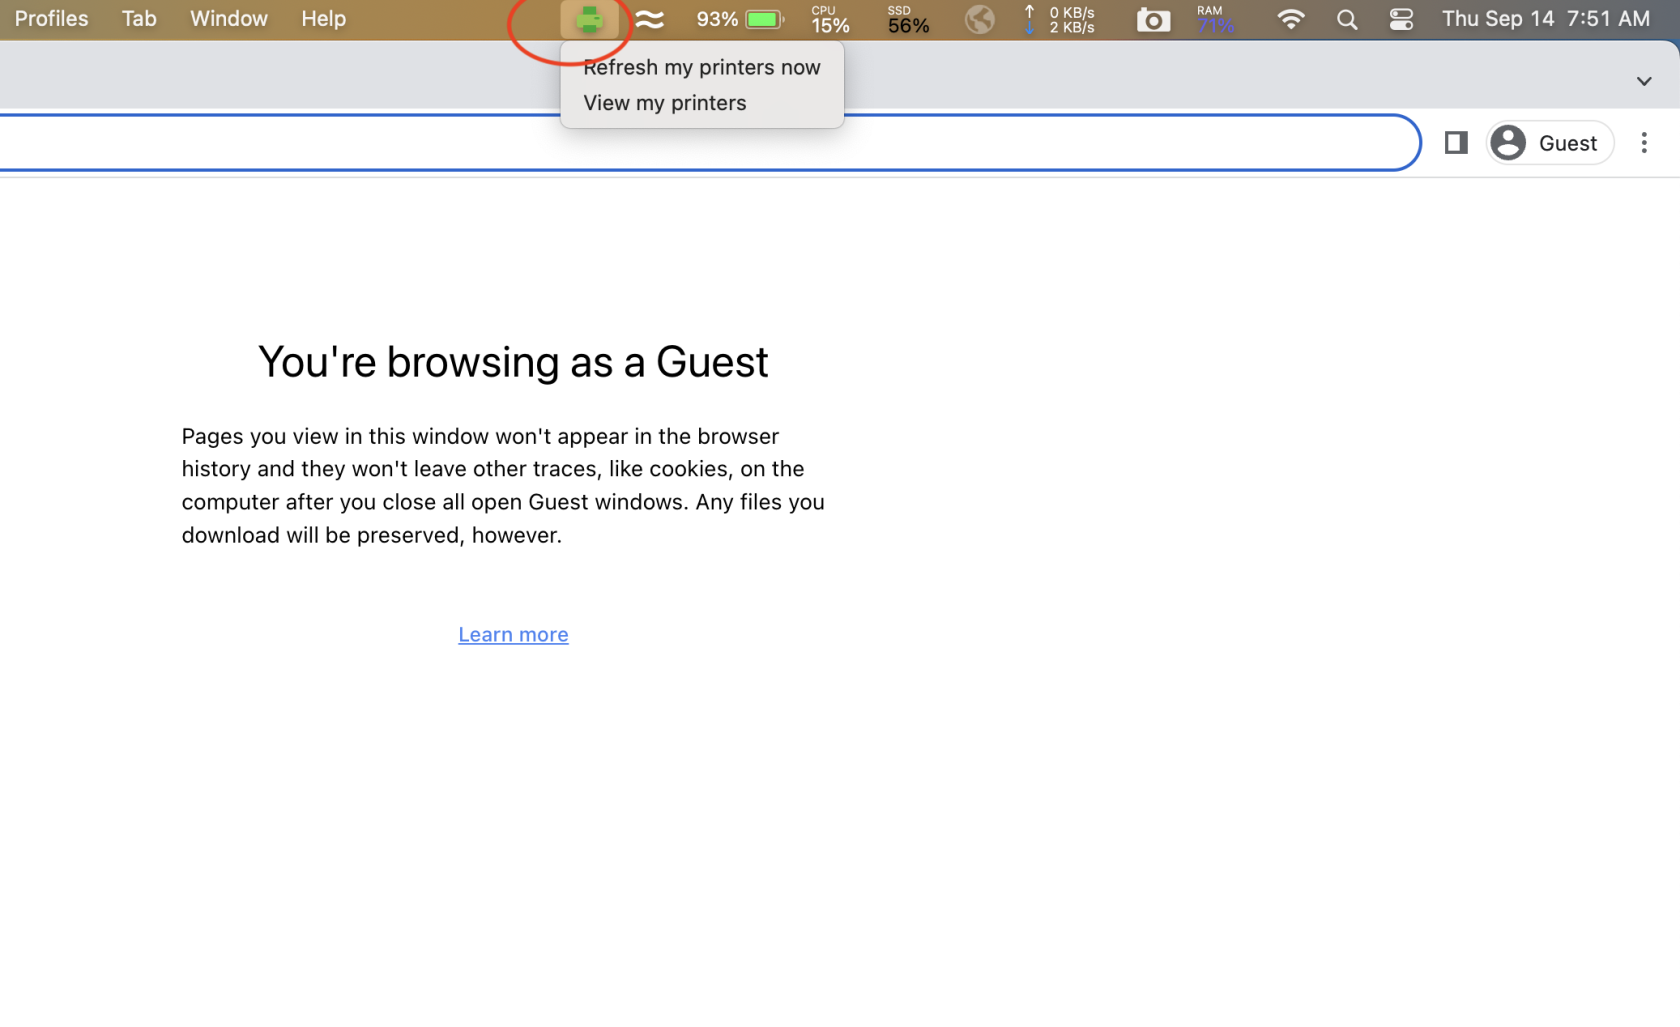
2. After Installing Papercut, you should now have an icon at the top of your screen that is green and looks like a printer. Click on this, and click View My Printers. |
|
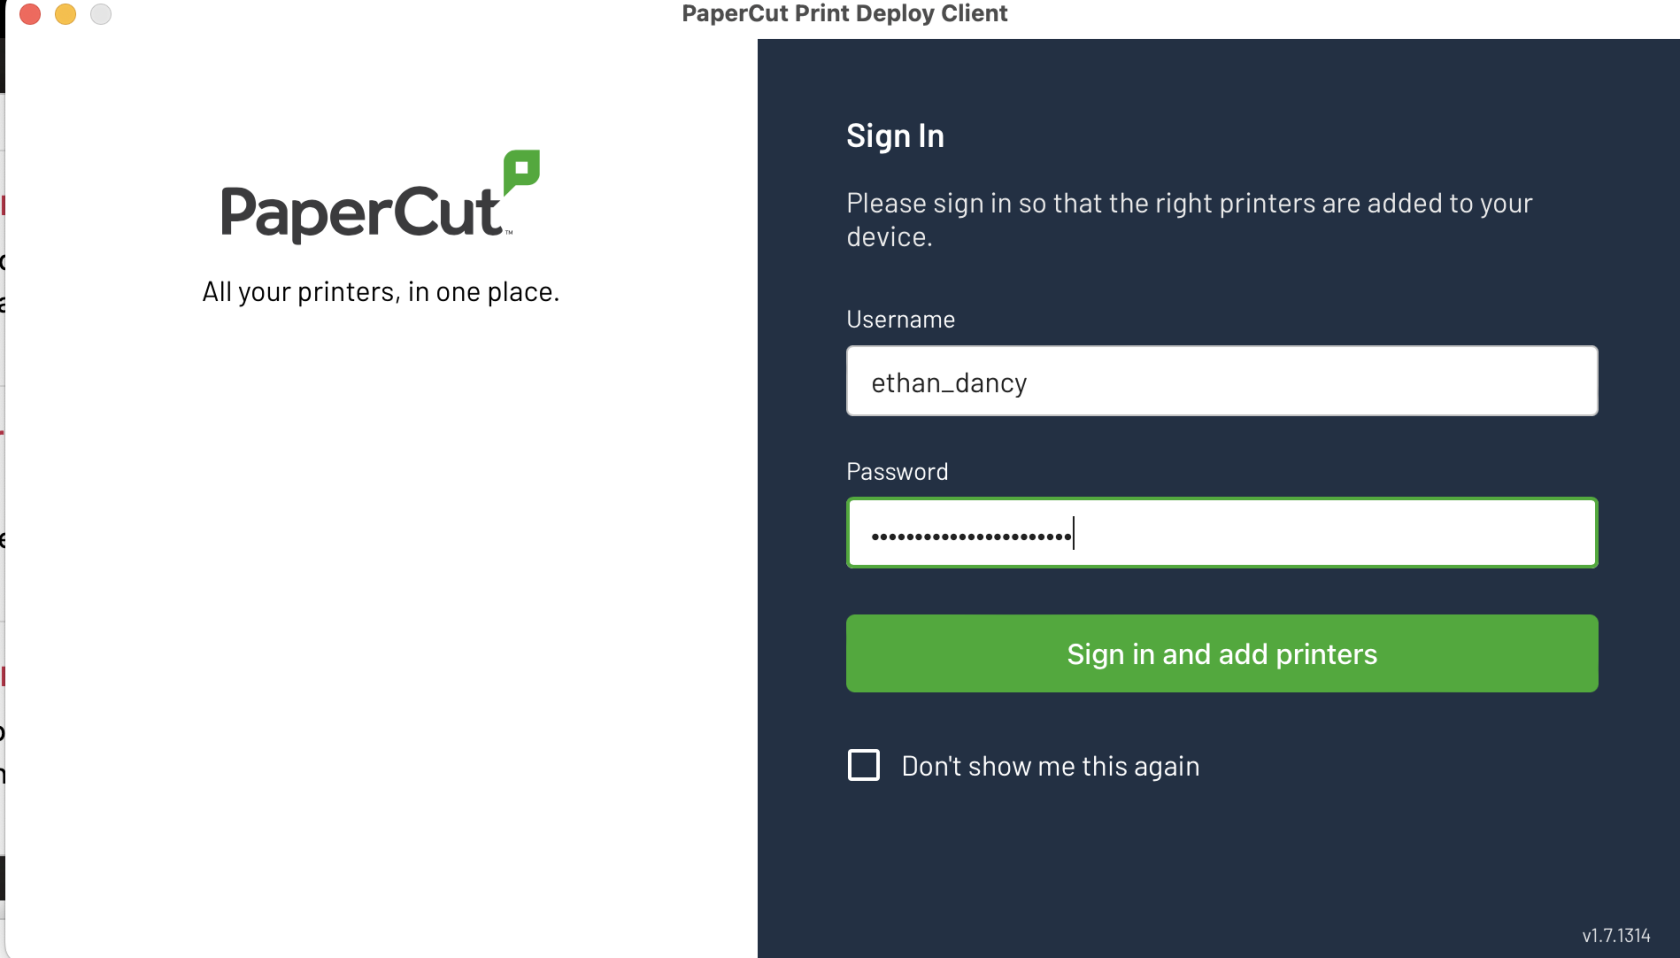
| 3. You may receive a login window like the one pictured to the right. If you do, it will be the same login as your computer login and same password as your computer password. |
|
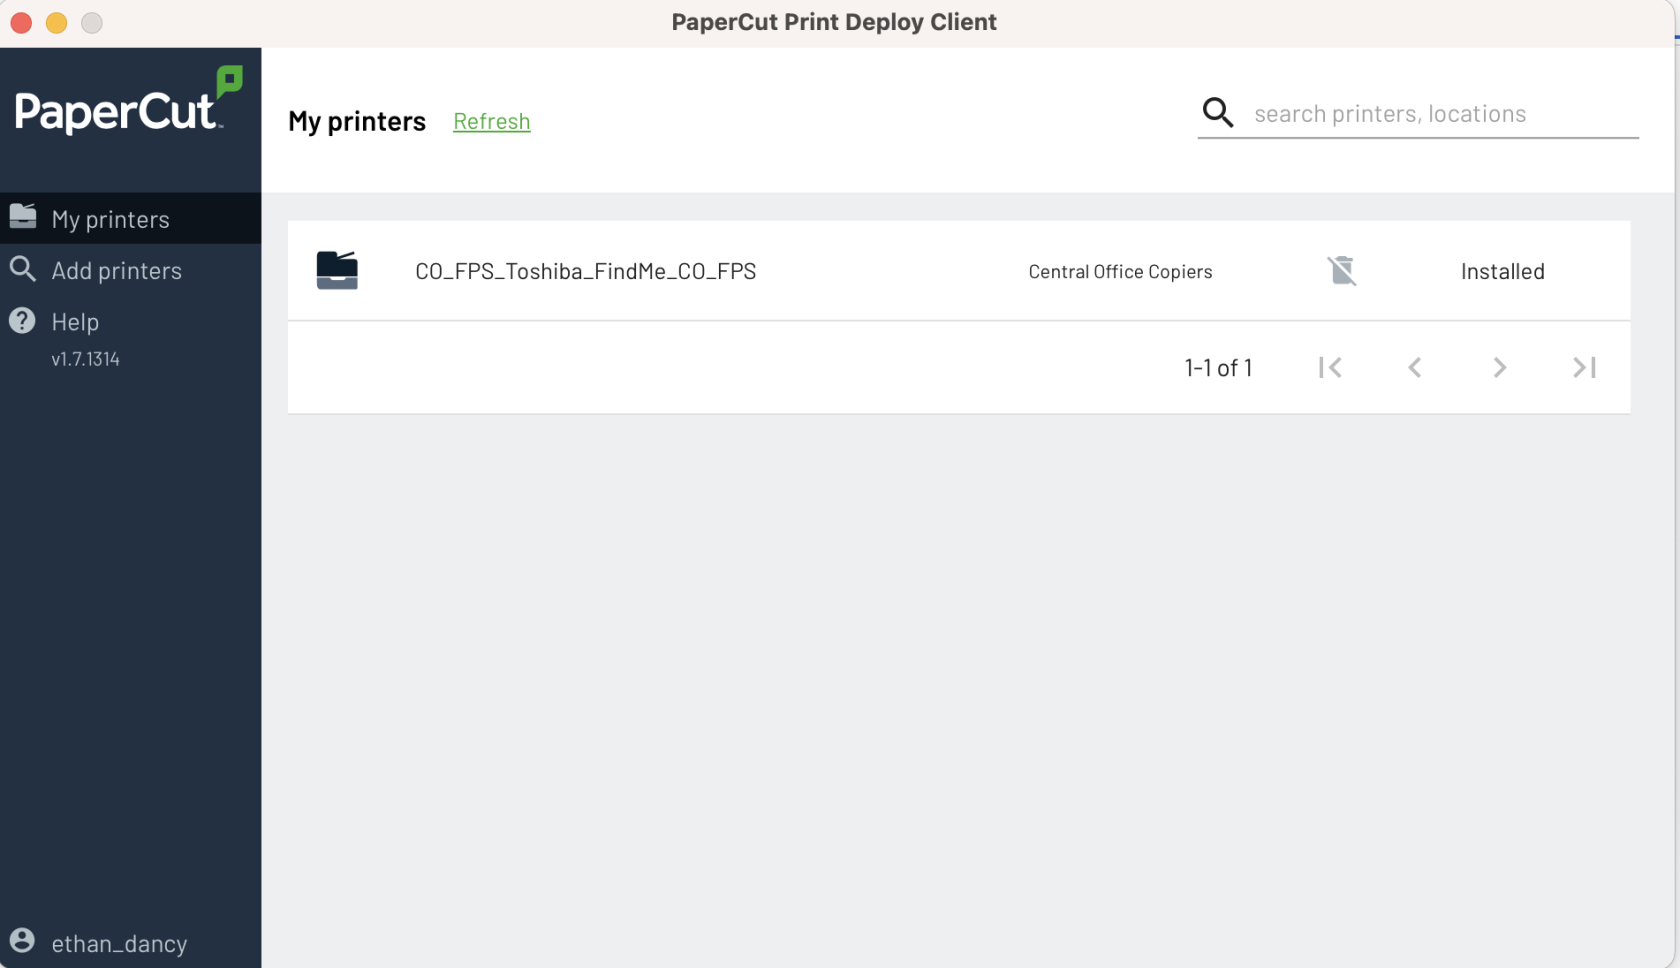
| 4. After signing in, you should see that there is a printer installed by default and it should be for the school that you are currently at compared to this list - Here is a list by school. |
|
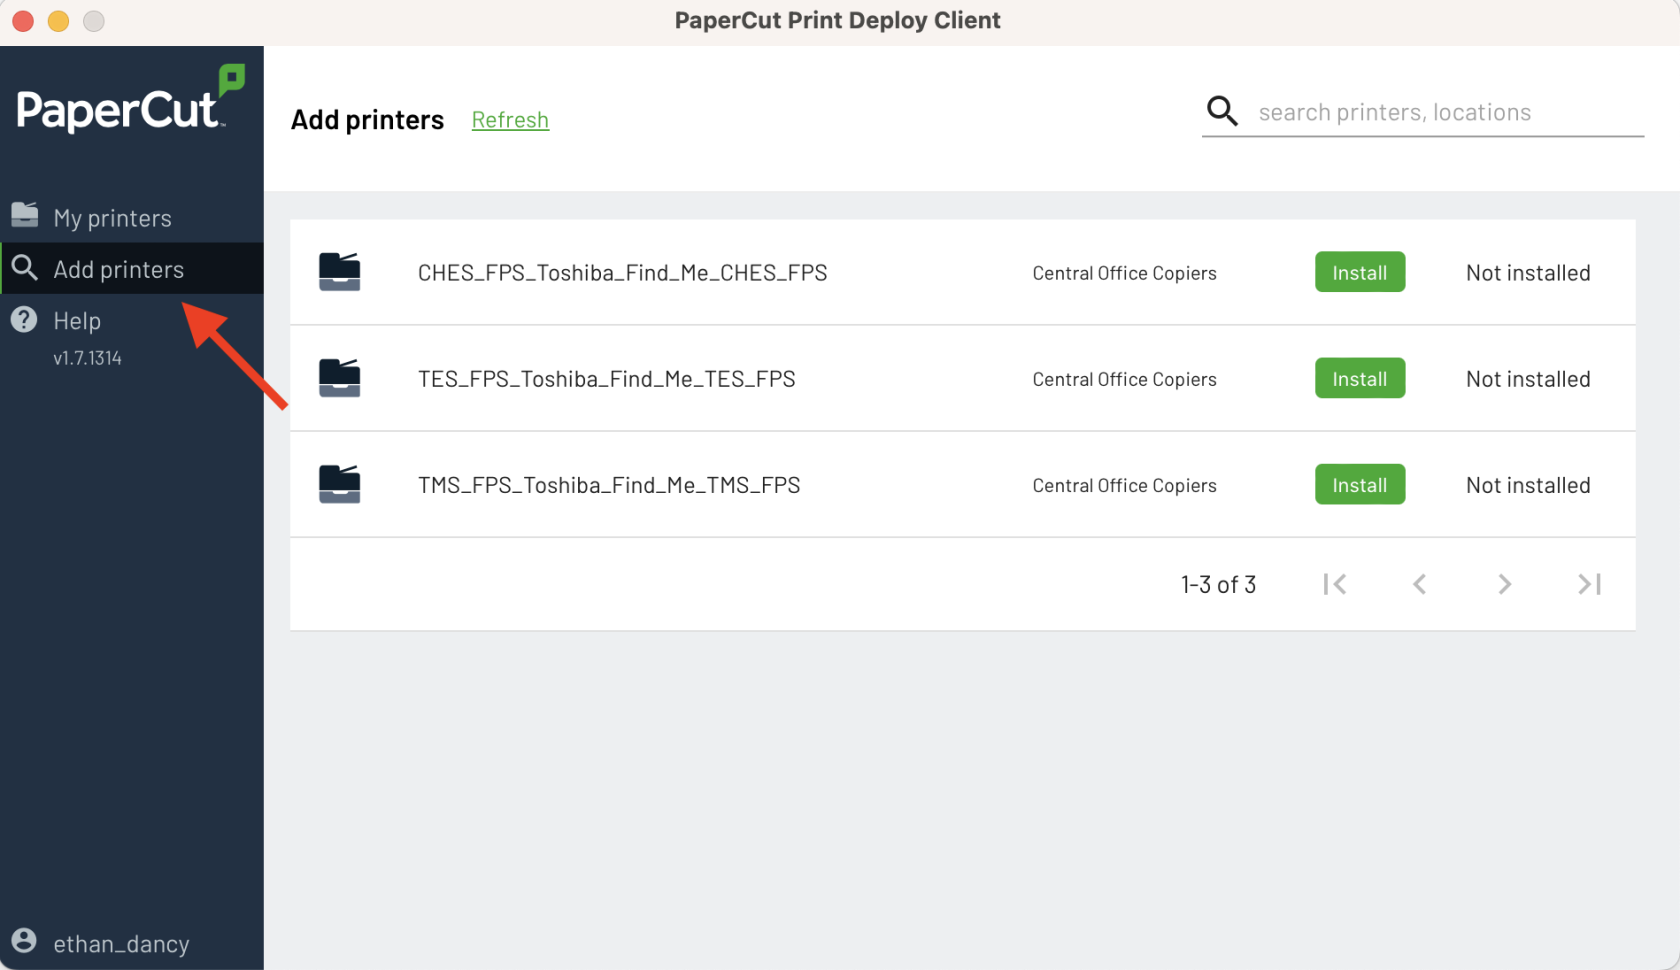
| 5. If you need to add additional schools, you can click on Add Printers on the left side of this program and choose print queues from other schools - Here is a list by school. |
|
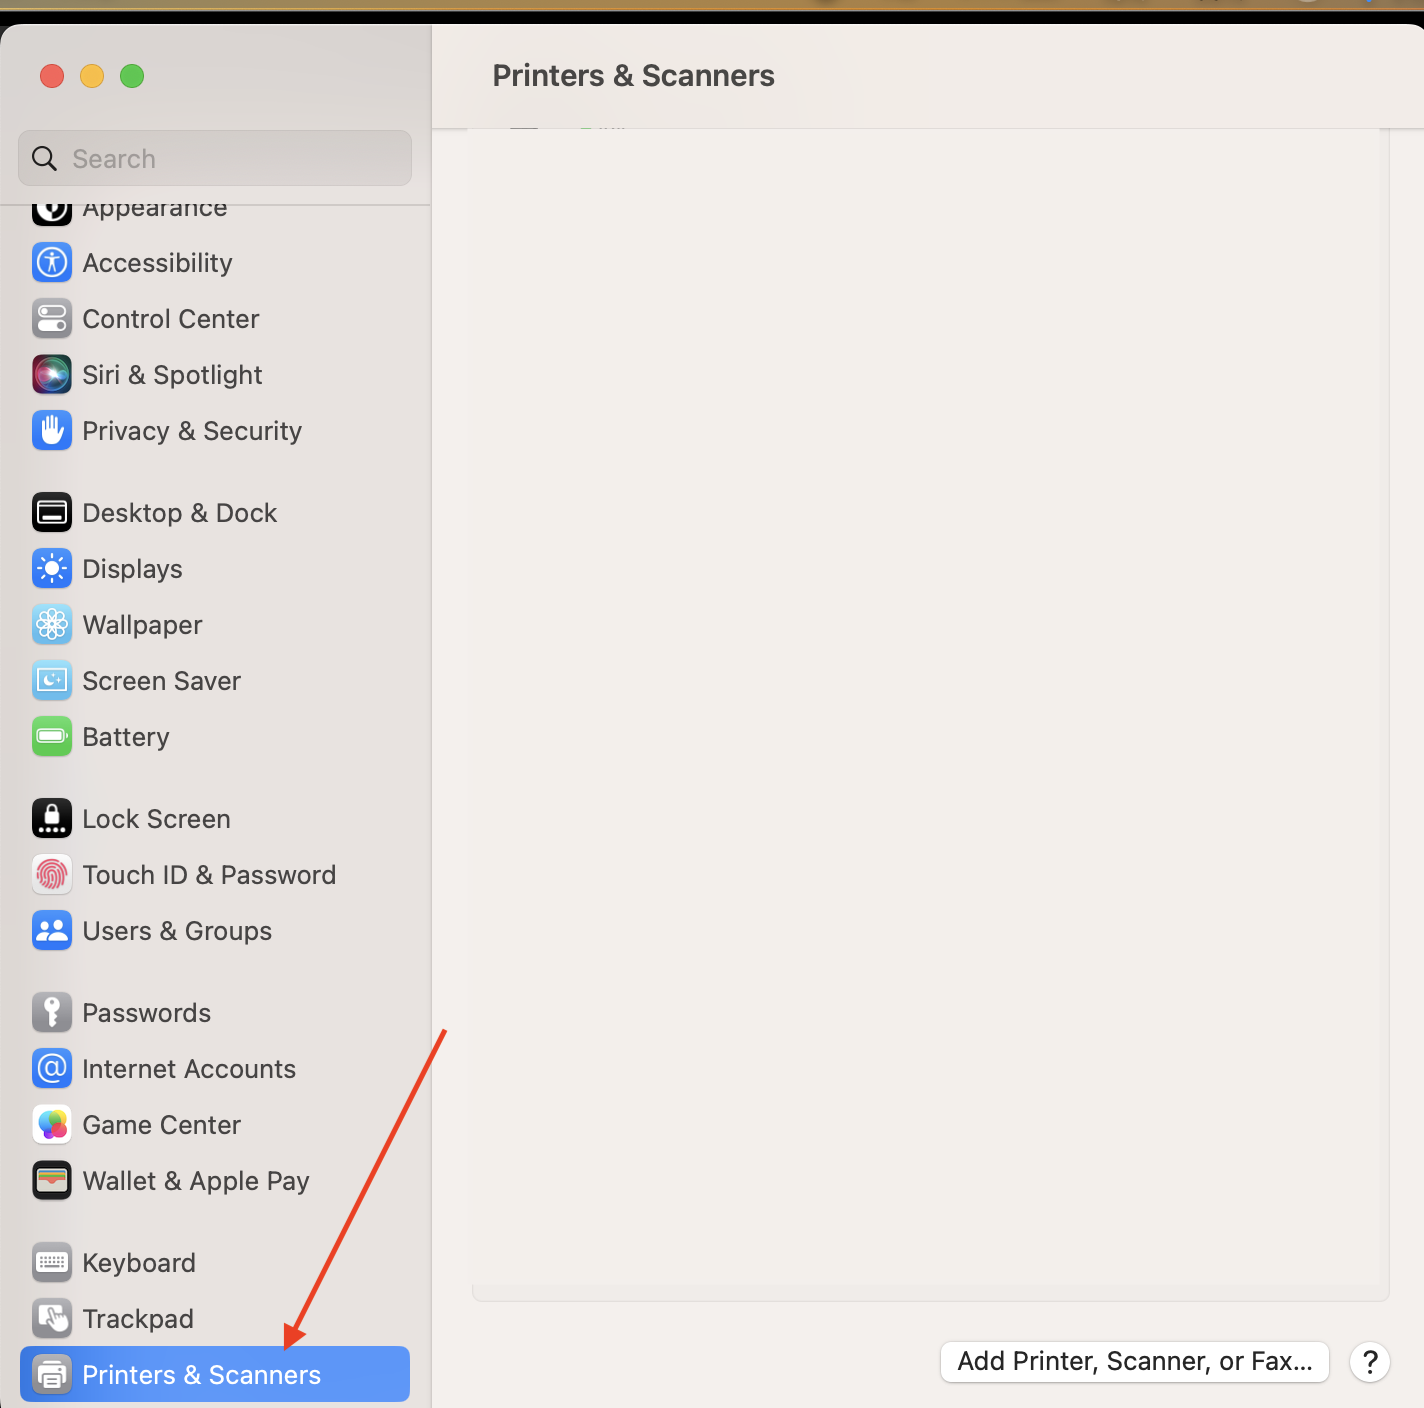
| 6. The printers that you installed should now show up in System Preferences > Printers & Scanners |
|
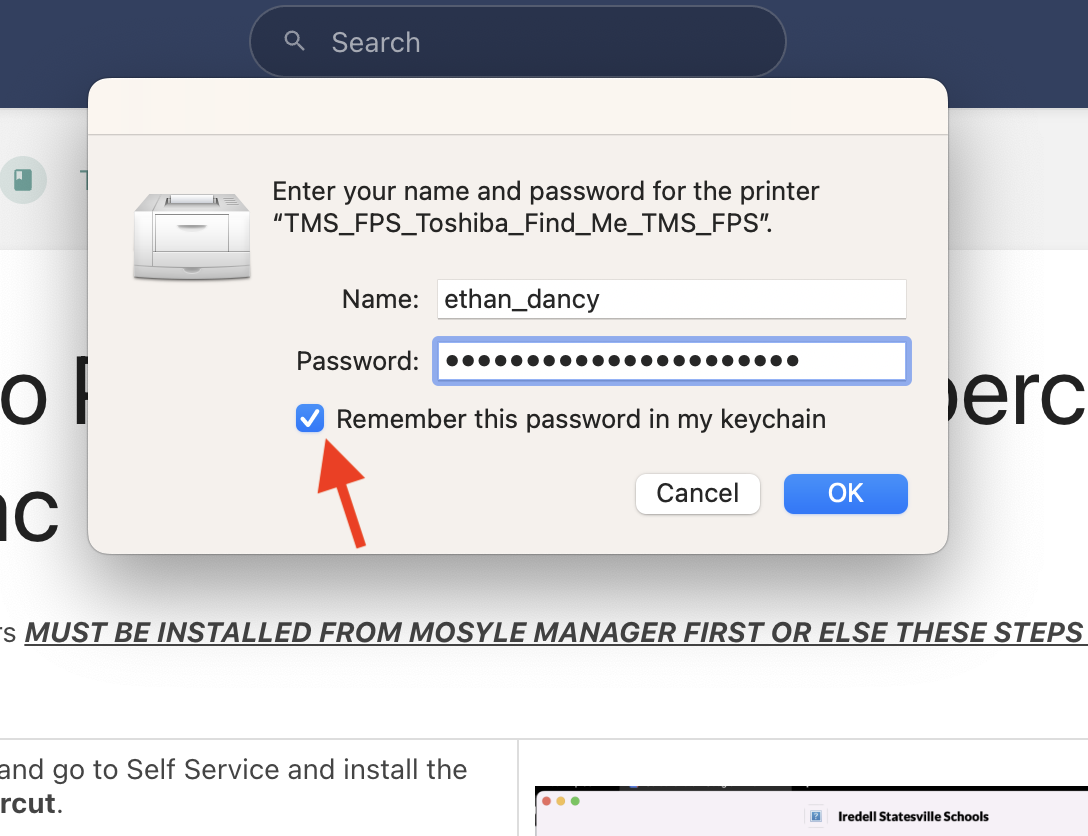
| 7. You MAY NOT GET THIS POPUP - but if you do - Once your print, if you get this popup to enter a password, this will be your computer password and YOU MUST CHECK THE BOX that says Remember this password in my keychain or you will have to do this every time. |
|
|
Now, you should be able to print to any copier on this site that has papercut. You will need to retrieve it by entering your ID Number (Timekeeper Number for most people) |
|


